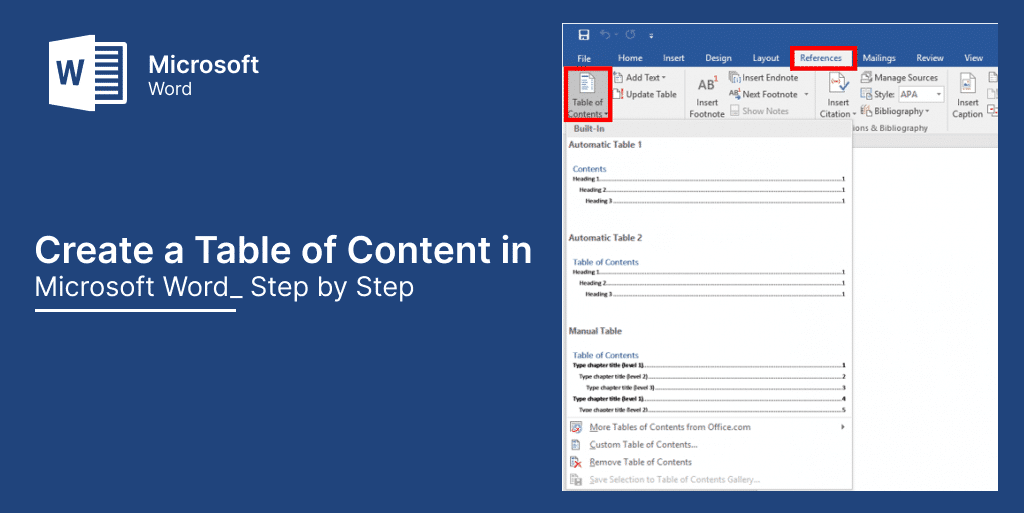
Creating a table of contents in Microsoft Word can be a simple and efficient way to organize and navigate your document. Whether you’re working on a lengthy report, thesis, or book, a table of contents can help readers quickly locate and jump to specific sections of your document. In this article, we’ll walk you through a step-by-step guide on how to create a table of contents in Microsoft Word.
Table of Content
Step 1: Heading Styles
The first step in creating a table of contents is to use heading styles for your document sections. Headings are what the table of contents will use to populate itself. To apply a heading style to a section of your document, highlight the text and go to the “Home” tab in the top menu. Under “Styles,” you’ll see a range of heading options. Choose the heading style you want to apply to the section.

Step 2: Customize Heading Styles (Optional)
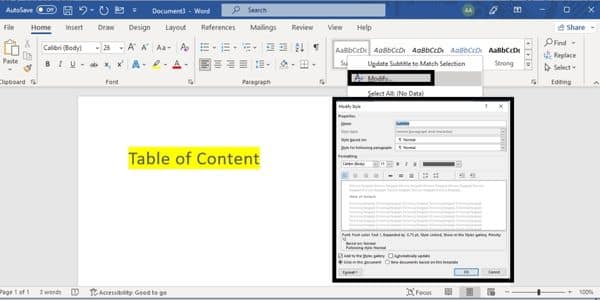
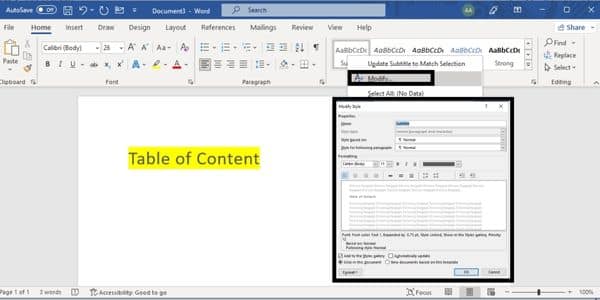
You can also customize the appearance of the heading styles to suit your needs. To do this, right-click on the style you want to modify, and select “Modify.” Here, you can change the font, size, color, and other formatting options for the style. Once you’ve made your changes, click “OK” to save them.
Step 3: Inserting the Table of Contents
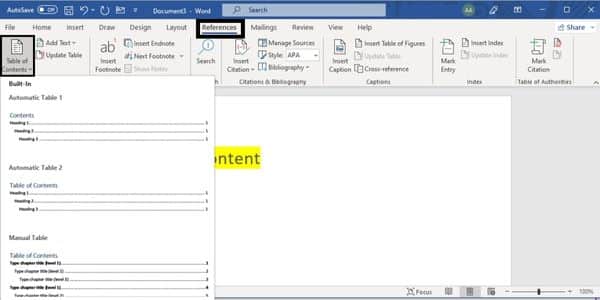
With the heading styles applied to your document sections, it’s time to insert the table of contents. Place your cursor where you want the table of contents to appear. Next, go to the “References” tab in the top menu and select “Table of Contents.” Here, you can choose from one of the automatic table of contents options or click “Custom Table of Contents” to create your own.
Step 4: Customizing the Table of Contents (Optional)
If you choose to create a custom table of contents, you’ll be taken to a dialog box where you can make further adjustments. Here, you can specify how many heading levels to include, whether to show page numbers, and other formatting options.
Step 5: Updating the Table of Contents
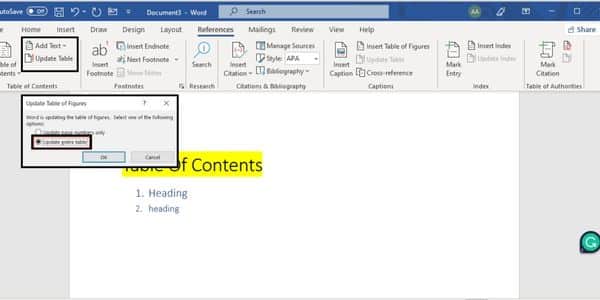
As you add or remove sections from your document, you may need to update the table of contents. To do this, place your cursor in the table of contents and click “Update Table” in the “Table of Contents” section of the “References” tab. Here, you can choose to update the entire table or just the page numbers.
In conclusion, creating a table of contents in Microsoft Word installed in Microsoft Office 2016 is a simple yet effective way to enhance the organization and navigation of your document. By using heading styles and customizing the table of contents to your needs, you can create a professional-looking document that is easy for readers to navigate. Indigo Software provides Microsoft Office for sale at affordable prices, which enables you to enhance your branding image among your customers.
